Choosing and Caring for a Wooden Cutting Board
Choose a wooden cutting board for the work and storage space you have, then keep its surface clean, dry, and ready for the next meal.
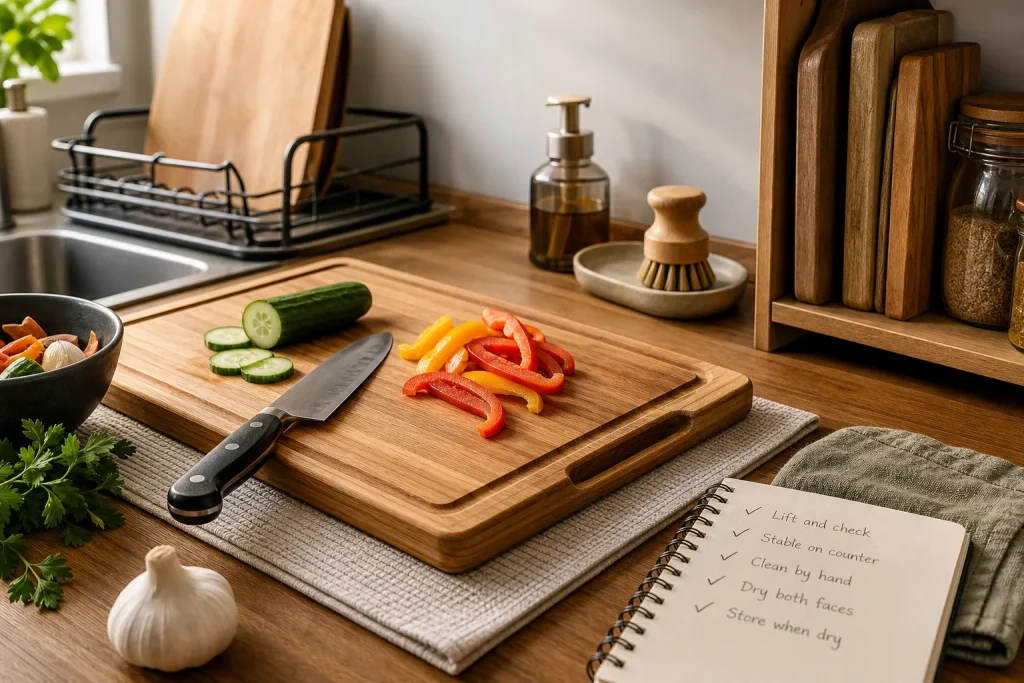
A thick end-grain board may look appealing on a shop shelf, but it can be awkward to lift into a small sink. Before choosing a wooden cutting board, consider the jobs it will handle, how it sits on your counter, and where it can dry. A few specific checks can help you select a board that fits your kitchen and establish a routine that suits the wood and the maker’s instructions.
Choose a board you can handle and store
On an edge-grain board, the long sides of the wood strips form the cutting surface. On an end-grain board, the ends face upward in a pattern of small blocks. Either construction can work for ordinary kitchen preparation. Rather than choosing by appearance alone, consider the board’s weight, shape, and available storage space.
Before buying, lift the board as you would when carrying it to the sink. Set it on a flat counter and check for rocking. Inspect the joints for visible gaps or loose sections, and look for cracks that could collect food residue. A smooth, splinter-free surface and clear care instructions are useful signs that the board is ready for kitchen use.
A juice groove can help contain liquid, but its corners need cleaning. Feet may keep a board from sliding while making it harder to turn over or store flat. Choose these details only if they suit the way you prepare food and wash the board.
Make the board stable before cutting
Place the board on a clean, dry counter. If it slides, put a flat, damp dish towel or nonslip mat underneath; remove and reposition it if the towel bunches or the board still moves. Use a sharp kitchen knife and controlled strokes rather than pressing harder with a dull blade.
Keep ready-to-eat foods separate from raw meat, poultry, and seafood. Follow local food-safety guidance and the instructions for your board and cleaning products. After raw ingredients touch the board, wash it thoroughly before it is used for other food. If your household prefers separate boards for raw and ready-to-eat ingredients, mark or store them distinctly so their uses remain clear.
A wooden board is not a trivet. Set hot cookware on a heat-safe surface instead, and avoid leaving wet items on the board for a long time. Heat and trapped moisture may damage the wood or its joints.
Clean food residue without soaking the wood
For ordinary food preparation, scrape scraps into the bin, then wash the board promptly by hand with dish soap and a clean sponge or dishcloth. Clean the cutting surface, reverse side, edges, handles, and grooves; rinse away visible soap and food residue. Do not leave the board submerged in a sink. Avoid the dishwasher unless the board’s maker explicitly says it is suitable.
Use a dish brush or sponge to loosen dried-on residue rather than scraping with a knife. If an odor remains after cleaning, wash the board again and let it dry fully before deciding what to do next. A strong fragrance can mask an odor without removing its source. If residue or odor persists, or the board has a deep crack that cannot be cleaned, stop using it for food preparation and ask the maker or a qualified food-safety professional about next steps.
General household cleaning advice does not replace food-safety requirements for raw meat, poultry, or seafood. When a product label or local guidance specifies a sanitizing procedure, follow those directions and check that the product is suitable for the board and food-contact use. If the board’s instructions conflict with food-safety guidance, seek advice from the maker or a qualified professional.
Let air reach both faces before storing
After rinsing, remove excess water with a clean towel and stand the board upright in a stable dish rack or another place where air can reach both faces. Keep it out of splash water and away from a hot oven or radiator. If it must dry flat, turn it over once the exposed face is dry so the other side can air out as well.
Before putting the board away, check the faces, edges, and handle recesses for dampness. If any area still feels wet, leave the board out to dry. Store it only when dry, without pressing it into a cramped space or against another damp item.
Condition the wood only as the maker directs
If the board looks pale or dry and its maker recommends conditioning, use a product explicitly labeled for cutting boards or food-contact wood, and follow its directions. Mineral oil sold for cutting boards is a commonly used option, but product formulations and board finishes vary. Do not assume that an oil intended for cooking is suitable for maintaining wood; it may develop an unpleasant stale odor. When in doubt, check the board maker’s instructions or ask a qualified professional.
Apply any recommended conditioner only to a clean, fully dry board. Use the amount and waiting time stated on the label, then wipe off excess if the directions call for it. Conditioning does not clean or sanitize a board, and it is not a repair for a deep crack, loose joint, or surface that cannot be cleaned adequately.
Apply the routine to a compact kitchen
Imagine a cook with a narrow counter, a small sink, and a cupboard with limited room. They need a board for vegetables and fruit, and a heavy board would be difficult to carry. They compare two boards labeled for food preparation, lift each one, check for rocking, inspect the joints and surface, and choose the lighter option with no deep groove. The choice favors easy handling and cleaning over the extra mass and block pattern of the heavier board.
After chopping vegetables, the cook scrapes the scraps into the bin, washes the board by hand with dish soap and a clean sponge, and rinses both faces and the edges. They towel off excess water and stand the board securely in an open rack, away from sink splashes. They check the edges before storing it and leave it out if any part is still damp. The expected result is a board that fits the available space and has room to dry; the tradeoff is choosing convenient storage and handling over a heavier style.
Use these checks before putting the board away
- Check for food residue: If scraps or visible residue remain, wash the affected area with dish soap and a clean sponge or brush; if it looks clean, continue to the drying check.
- Check for raw-food contact: If raw meat, poultry, or seafood touched the board, follow applicable food-safety guidance and product directions before using it for ready-to-eat food; if it did not, complete the ordinary wash and rinse.
- Check both faces and the edges: If one side or a groove was missed, wash and rinse that area; if all surfaces are clean, remove excess water and set the board to dry.
- Check for a lingering odor: If an odor remains, clean again and let the board dry fully; if it persists or suggests residue remains, stop using the board for food preparation and ask the maker or a qualified professional.
- Check whether both faces feel dry: If either face, an edge, or a handle recess feels damp, leave the board in an airy place; if all areas feel dry, store it away from heat and splash water.
- Check for cracks or loose joints: If a crack or joint prevents thorough cleaning, set the board aside and seek advice from the maker or a qualified professional; if the surface is intact, continue with normal care.
- Check the maker’s conditioning directions: If they call for a board-safe conditioner, follow the product label on a clean, dry board; if they do not, avoid applying an unapproved oil and ask the maker if the surface looks unusually dry.
Keep dish soap, a clean sponge, and a stable drying rack easy to reach, and return the board to the same drying place after use. If several people share the kitchen, agree on how the board is separated for raw and ready-to-eat foods and where it goes after washing. Those small choices make the routine easier to follow while leaving food-safety decisions anchored to the relevant product instructions and local guidance.